Happy Sunday!
Guess what yesterday was in my house?
That’s right, our merlot has been sitting pretty for about a month, and yesterday was the day we rented a corker and bottled the wine. This is my first batch of homemade wine and I learned a lot throughout the whole process, so I thought it’d be fun to talk about what’s involved in making wine at home.
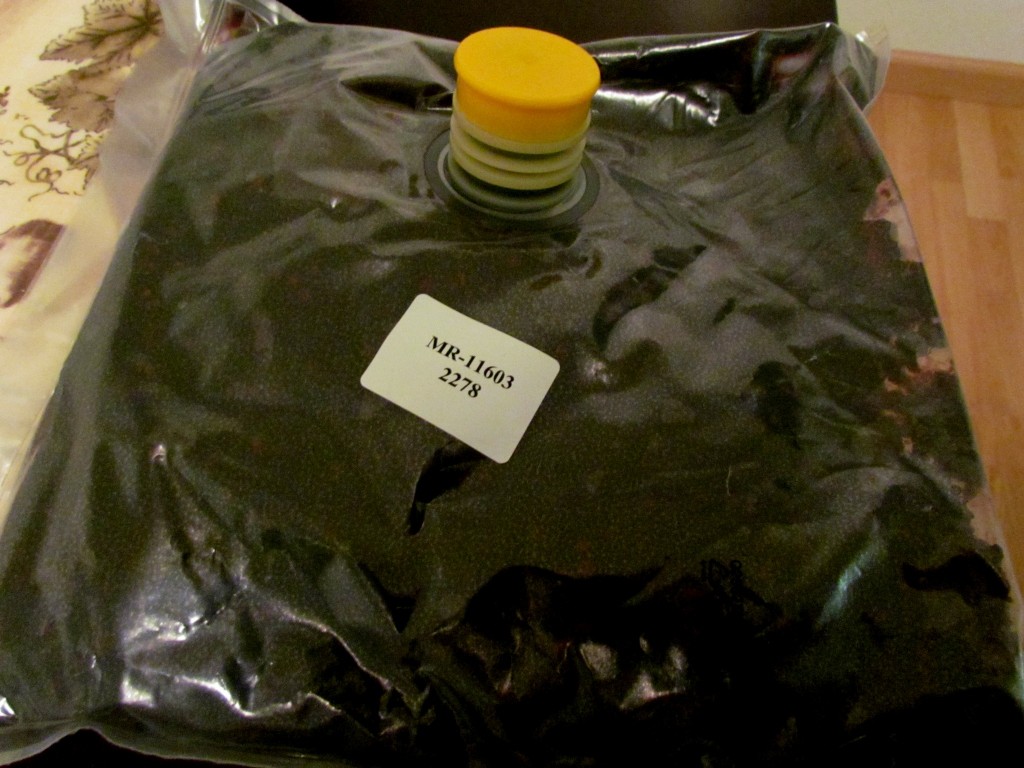
The first step is buying all of the supplies and figuring out what type of wine you’ll make. There are a good amount of things you’ll need – from yeast and cleaning powders to a hydrometer, wine thief and oak chips – but we luckily found a fermentation store that easily provided everything we needed. As far as the type of wine to make, we decided to just buy grapes already crushed since this was our first go-around, and chose merlot grapes from California’s Stags Leap District. I would love to go to a winery around here next time around and crush the grapes ourselves, and also look forward to trying our hands at making a white wine sometime!
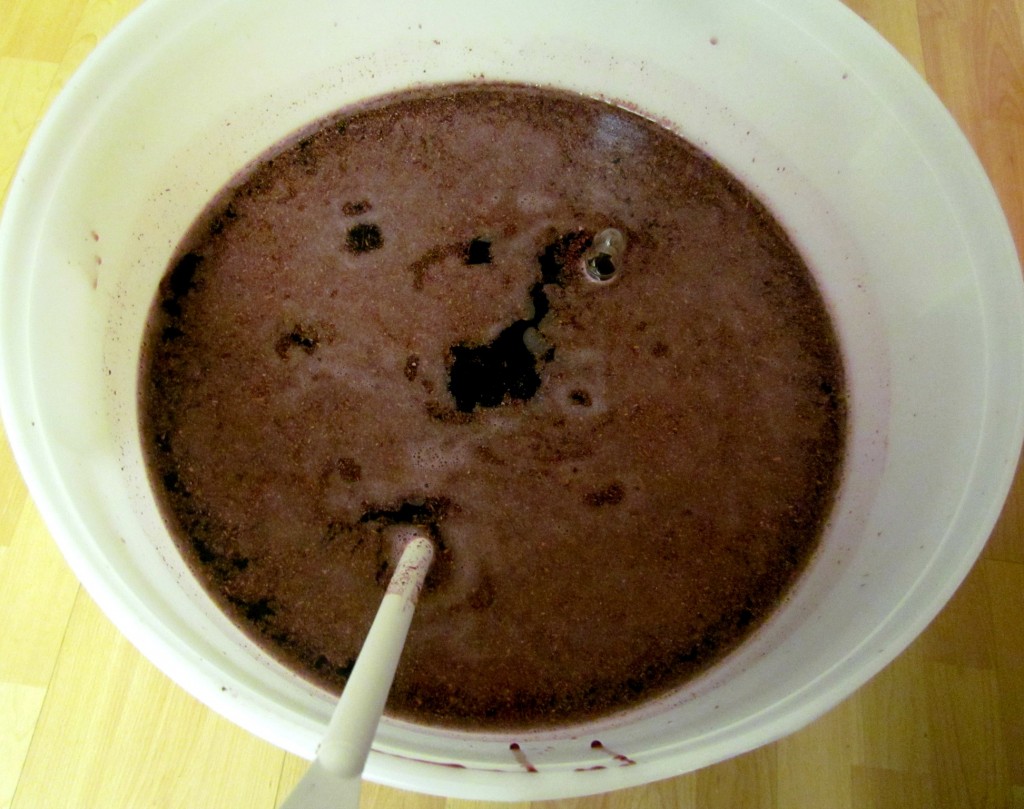
The first phase of making wine is primary fermentation. With a red wine like merlot, this involves combining the grape juice with warm water, bentonite solution, oak powder, and the grape skins, which are placed in a mesh bag. Making wine is pretty scientific, and you need to take samples and measure levels of things throughout the process. At this time, you have to make sure that the temperature of the juice is between a certain range before adding yeast in. Temperature is also pretty important when it comes to where the juice is stored, and I was kind of obsessed with checking out the thermometer during this phase to make sure the juice wasn’t too warm or cool.
It’s pretty interesting to see how the mixture bubbles when the yeast activates. This is the first step in the grape juice turning into wine! For the next week, you pretty much just wait it out, push the grapeskins down into the mixture, and make sure the temperature is within an ideal range.
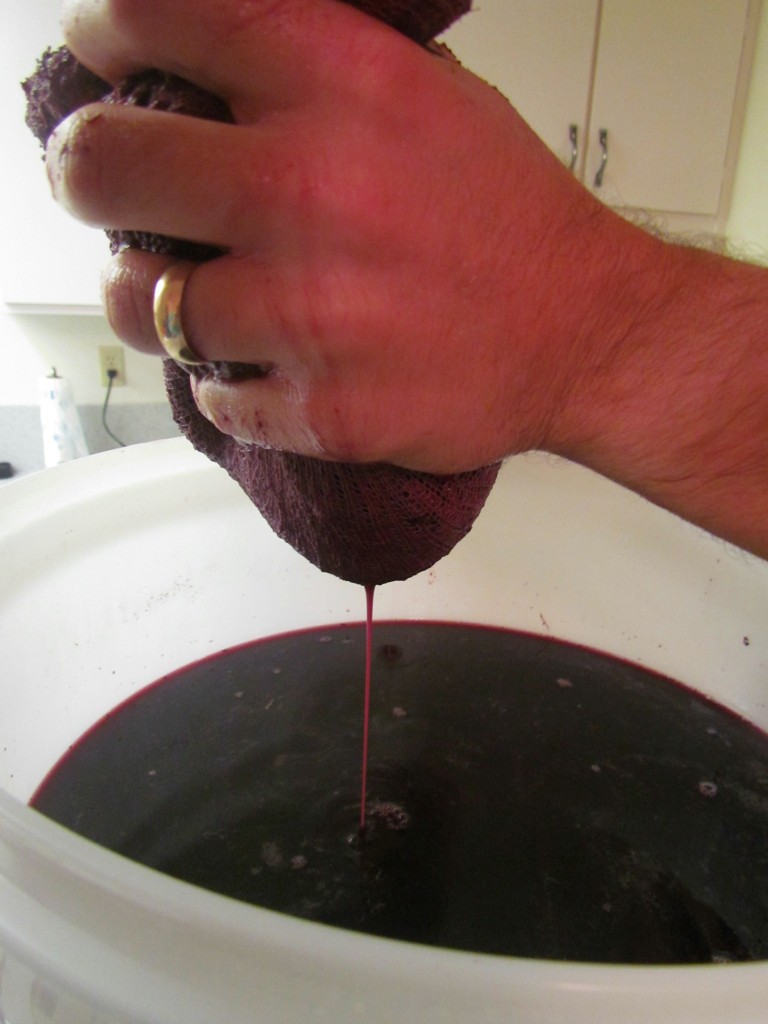
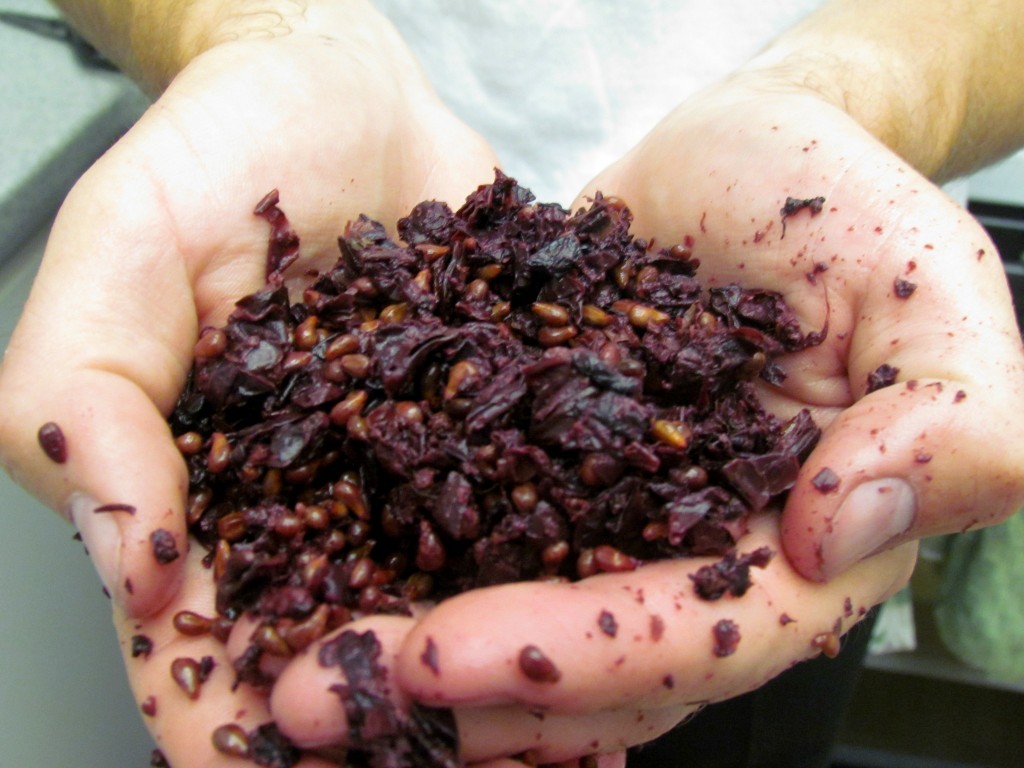
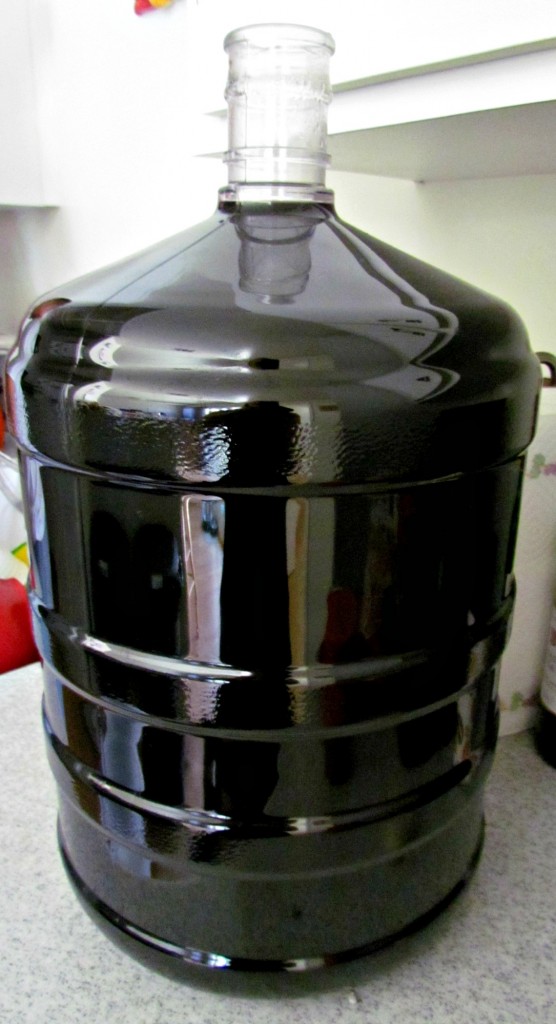
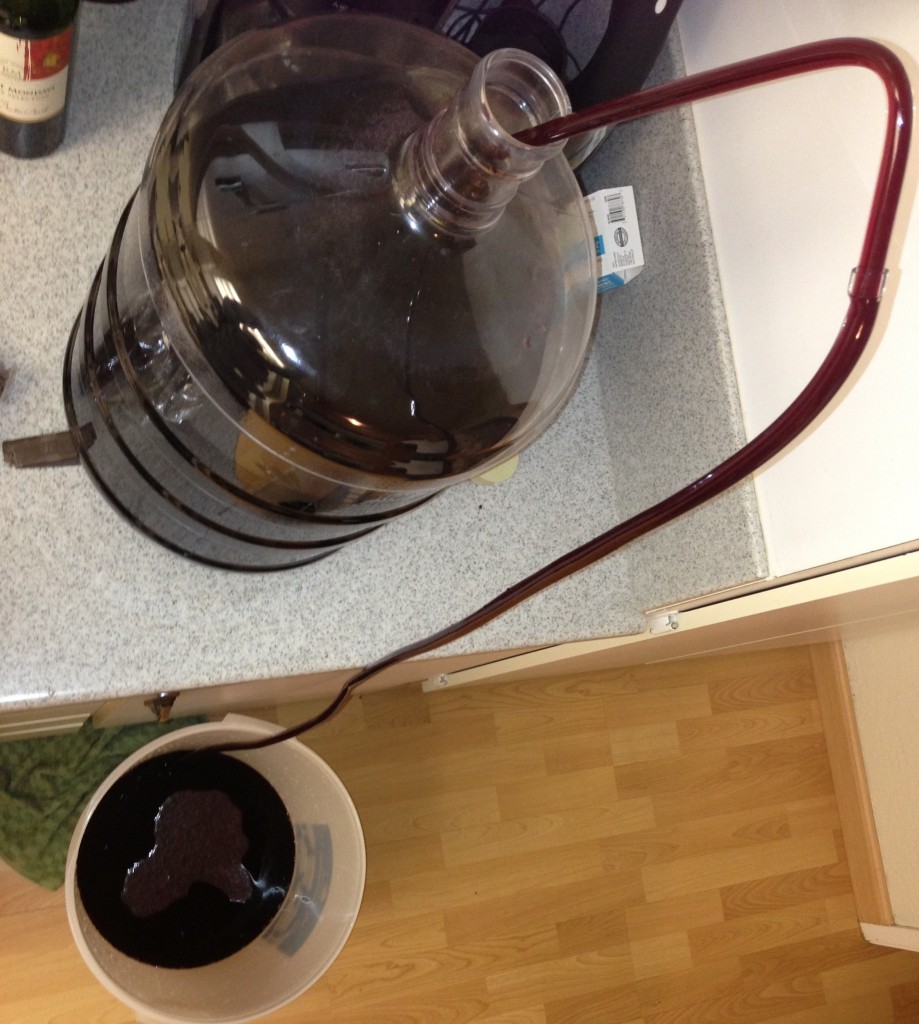
Next is secondary fermentation, which begins after you wait the week, then draw a sample of the juice to check its specific gravity. This indicates the amount of potential alcohol in the wine, and has to be within a certain range to move forward with what’s referred to as racking the wine for the first time. This is done so that sediment is left behind and the wine comes out clear, and pretty much entails siphoning the wine from one container (called the primary fermenter) into another (referred to as the carboy). You also remove the grapeskins at this time, then let it sit for 10 days.
After 10 days, you have to check the specific gravity of the wine again. This next stage involves adding in some fancy chemicals (metabisulphite, chitosan clarifier and sorbate) and vigorously stirring the mixture in order to drive off CO2. You also add in oak cubes at this time, then wait a bit over a week to allow the wine to clear.
The next step is to rack the wine again to really polish it. A lot of sanitizing and cleaning is involved in making wine, which is kind of annoying but necessary to make sure that the wine doesn’t get contaminated with anything.
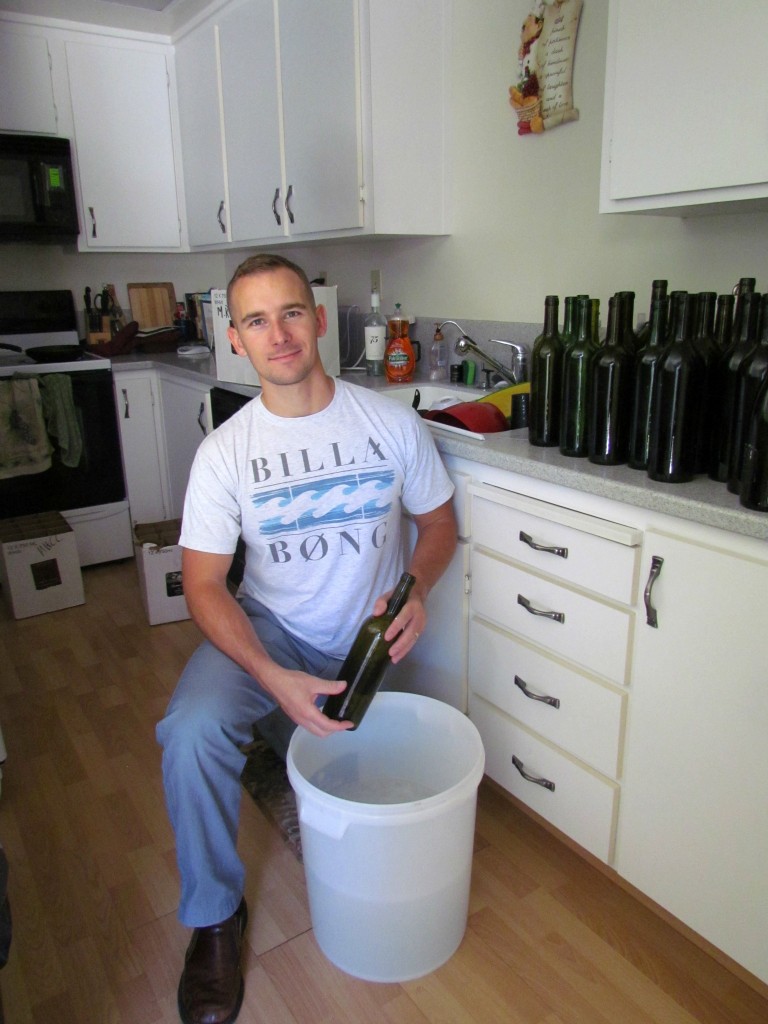
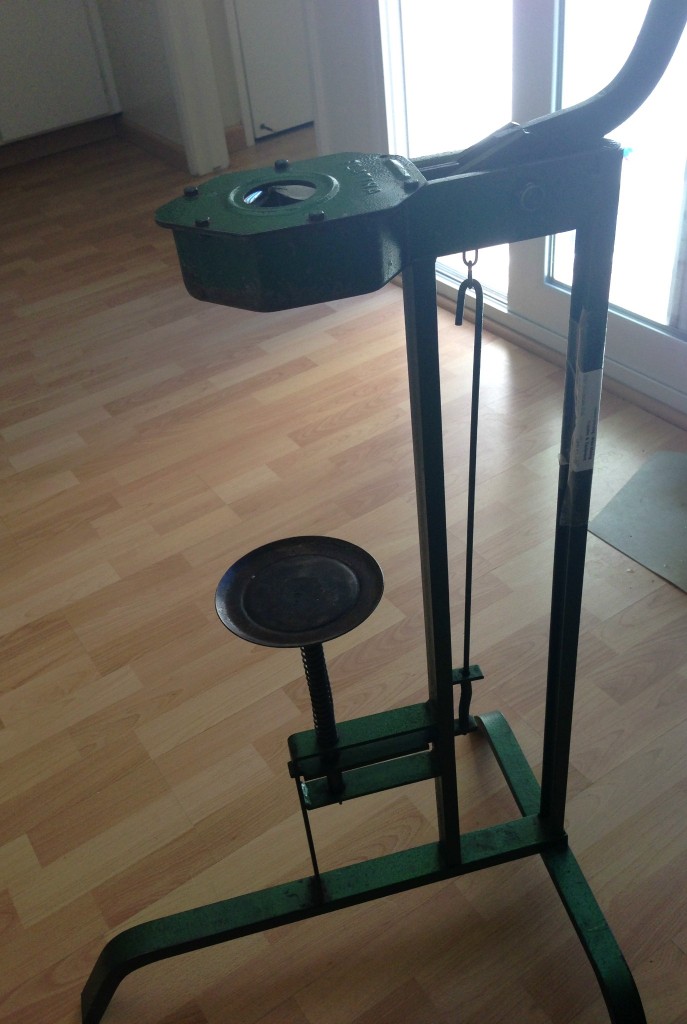
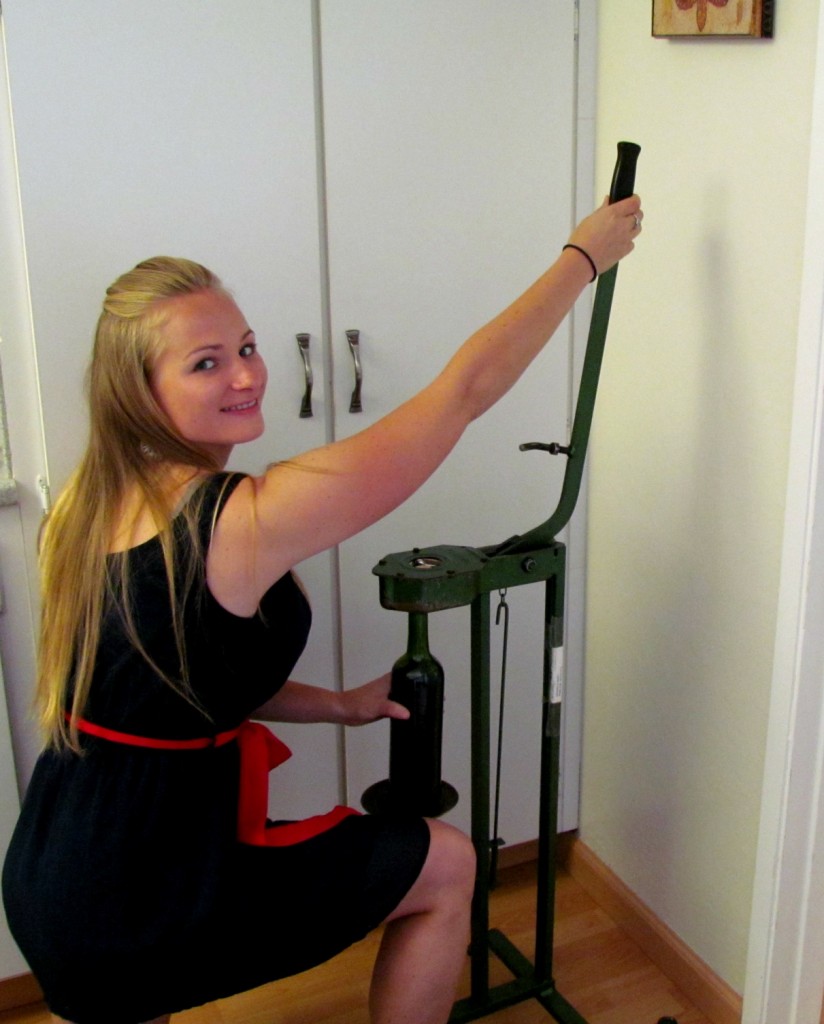
You now just let your wine sit for about a month to finish clarifying. The last step (the exciting part!) is to bottle the wine. We rented an old school corker, which was fun to use:
 Harley was not impressed with us bottling and corking our wine.
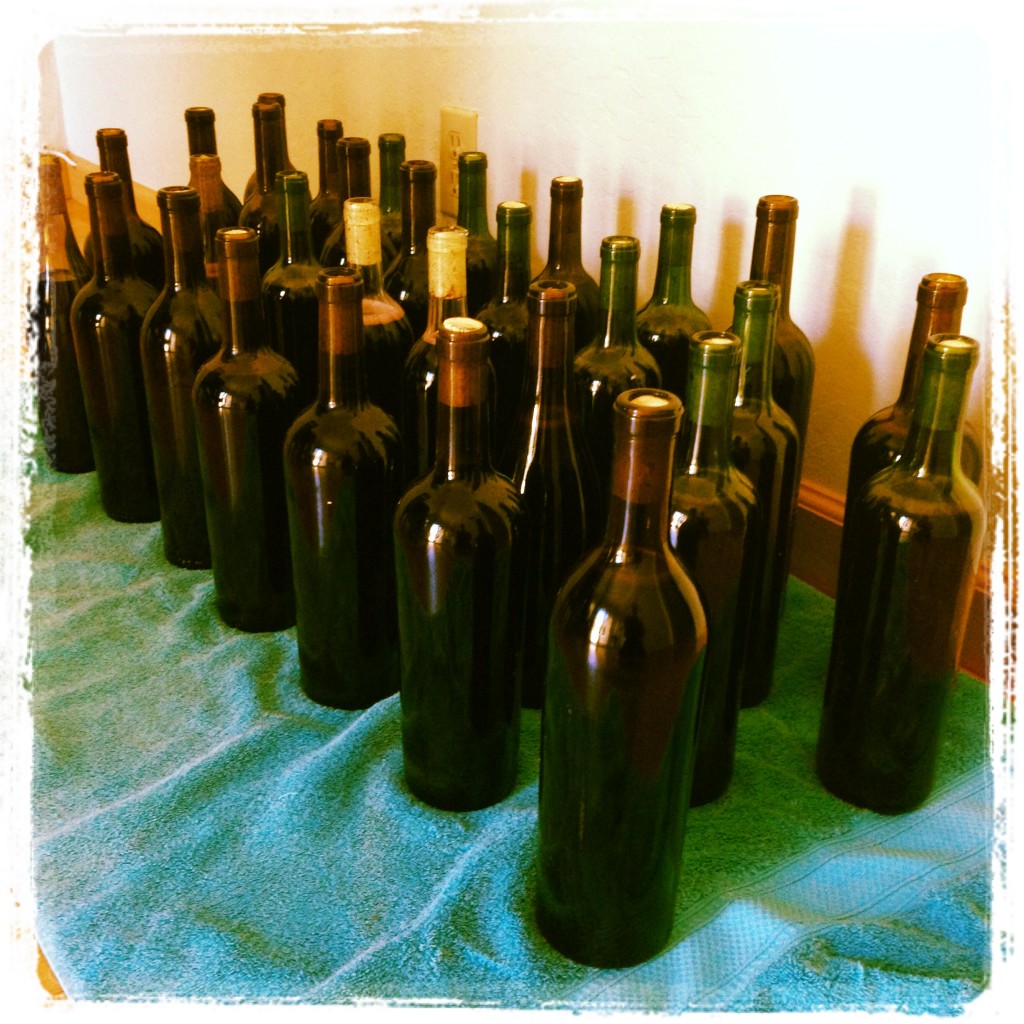
And voila, we now have 31 bottles of homemade merlot!
I was worried about the still faintly present rotten eggs smell of our wine, called a “sulfide stink” by winemakers. I consulted a few books and the experts at our fermentation place about this, and they said that the smell is normal. Even when we bottled yesterday, the wine didn’t smell great, but it needs a lot more time to mature. Making wine is a test in patience, and hopefully our wine will not disappoint. Only time will tell!


Interesting post, thanks for sharing. Congrats on bottling your wine!
Thanks for reading Tanya!
Very cool Nicole!!!
Thanks! Pretty neat right?!